Introduction
There’s something undeniably special about desserts that bring a burst of sunshine to your table, especially when they require zero oven time. That’s why I’m so excited to share this No Bake Lemon Cheesecake with you today. Whether you’re a busy parent, a dessert lover with limited baking skills, or someone who craves a refreshing treat on a warm day, this recipe delivers. Plus, its creamy texture and zesty lemon flavor make it a crowd-pleaser every single time.
No Bake Lemon Cheesecake is the perfect solution when you want a decadent dessert without the fuss of traditional baking. Unlike its oven-baked counterpart, this version skips the stress of cracks or overbaking, relying instead on a simple mix of cream cheese, lemon juice, and a buttery graham cracker crust. It’s ideal for summer gatherings, potlucks, or even a quiet night in when you deserve something sweet. What makes it even better? You can customize it with fresh berries or a dollop of whipped cream, just like my favorite Easy Berry Trifle. And if you love no-bake treats as much as I do, you’ll adore my Chocolate Peanut Butter Bars too. Light, tangy, and effortlessly elegant, this cheesecake fits right into the breezy, approachable vibe of brekcakes.com—where desserts should be as fun to make as they are to eat.
Why I Love This Recipe
This No Bake Lemon Cheesecake holds a special place in my heart because it reminds me of lazy summer afternoons with my grandma. She’d whip it up whenever we needed a quick pick-me-up, and the tangy lemon flavor always made us smile. Even now, every bite takes me back to those moments of shared laughter and simple joys. It’s more than just a dessert—it’s a little slice of happiness, and I can’t wait for you to experience it too.
Health and Nutrition
Why it’s good for your body
No Bake Lemon Cheesecake packs a surprising nutritional punch while satisfying your sweet tooth. First, the lemon juice delivers a dose of vitamin C, which supports immune health and brightens your skin. Additionally, the creamy filling often includes Greek yogurt or cream cheese, providing protein and probiotics for gut health. Unlike traditional baked cheesecakes, this version skips the oven, preserving more nutrients in the ingredients.
Moreover, No Bake Lemon Cheesecake typically uses natural sweeteners like honey or maple syrup instead of refined sugar. These alternatives offer antioxidants and a slower energy release, preventing sugar crashes. The citrusy flavor also curbs cravings, helping you enjoy a smaller portion without feeling deprived. Plus, the zesty lemon adds a refreshing twist that makes each bite feel lighter.
Finally, the graham cracker crust in No Bake Lemon Cheesecake often includes whole grains or nuts for fiber and healthy fats. Fiber keeps you full longer, while fats support brain function. Together, these ingredients create a dessert that balances indulgence with nourishment. Whether you need a post-workout treat or a mood-boosting snack, this cheesecake delivers flavor and benefits.
How it fits in a healthy lifestyle
No Bake Lemon Cheesecake fits seamlessly into a balanced diet when enjoyed mindfully. For gluten-free eaters, simply swap the graham crackers for almond flour or gluten-free oats. If you’re watching your sugar intake, reduce the sweetener or try our low-sugar dessert alternatives for inspiration. The protein-rich filling also makes it a smarter choice than sugar-heavy treats.
Heart-healthy eaters will appreciate the option to use low-fat cream cheese or avocado for a creamy texture without excess saturated fat. Pair a slice with fresh berries or a handful of nuts for extra fiber and antioxidants. For those tracking macros, No Bake Lemon Cheesecake can be part of a flexible eating plan, especially when you meal prep balanced portions ahead of time. Enjoy it as an occasional treat, and savor every tangy, satisfying bite.
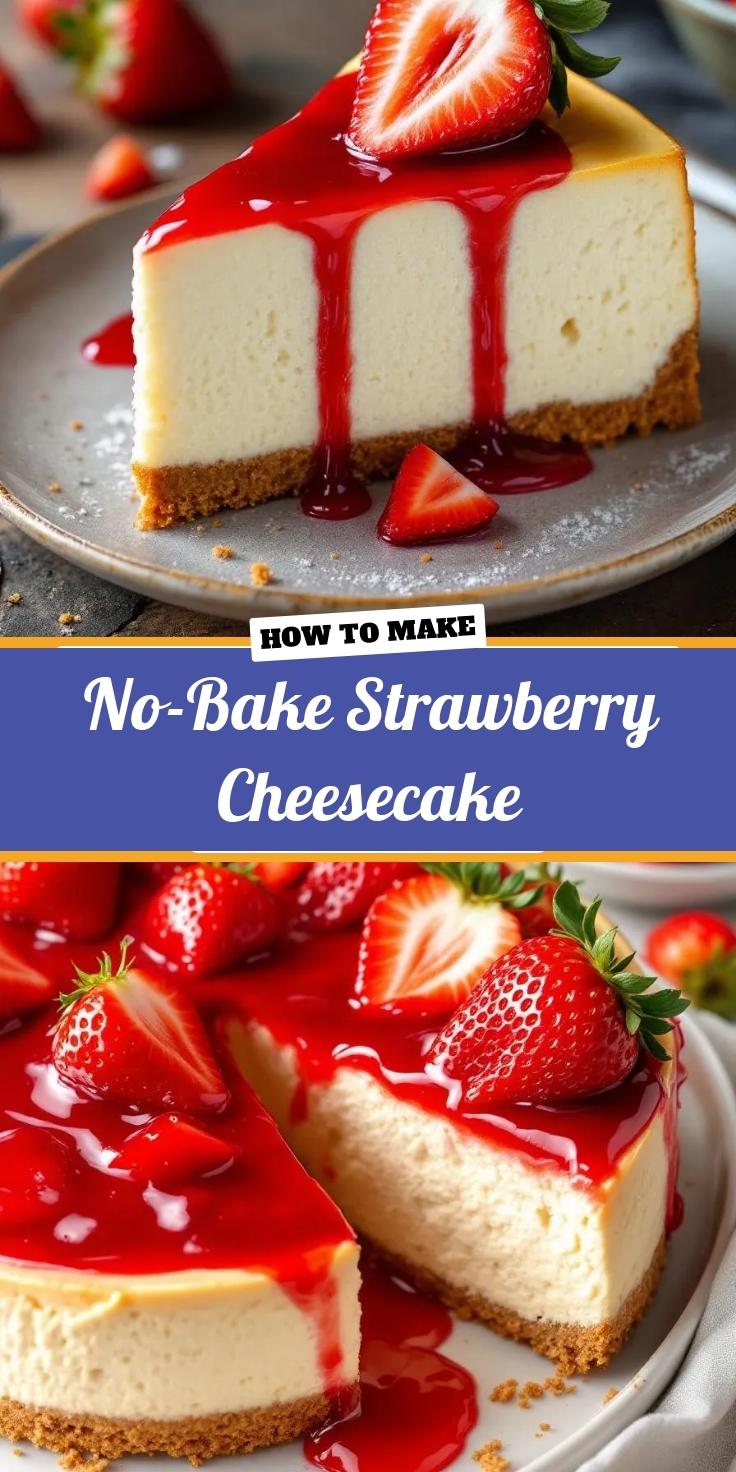
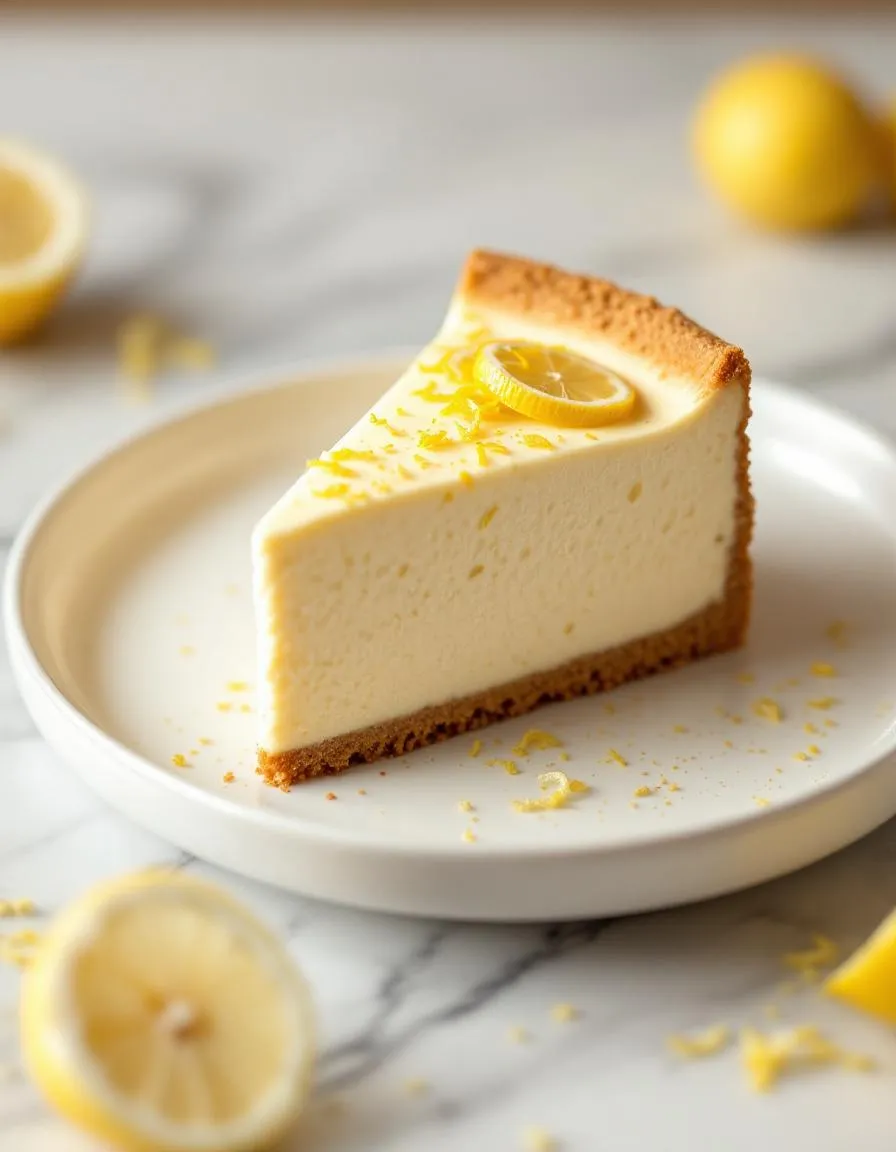
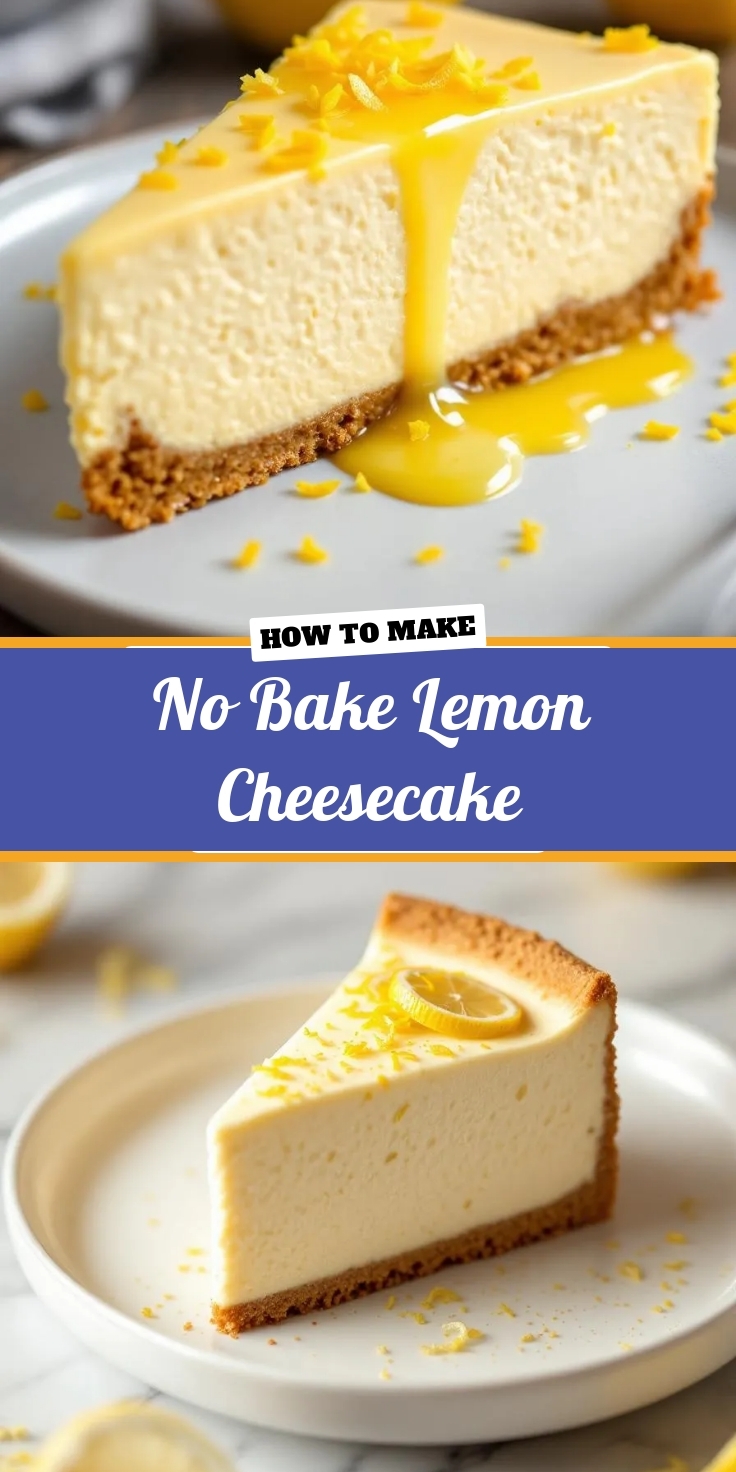
No Bake Lemon Cheesecake
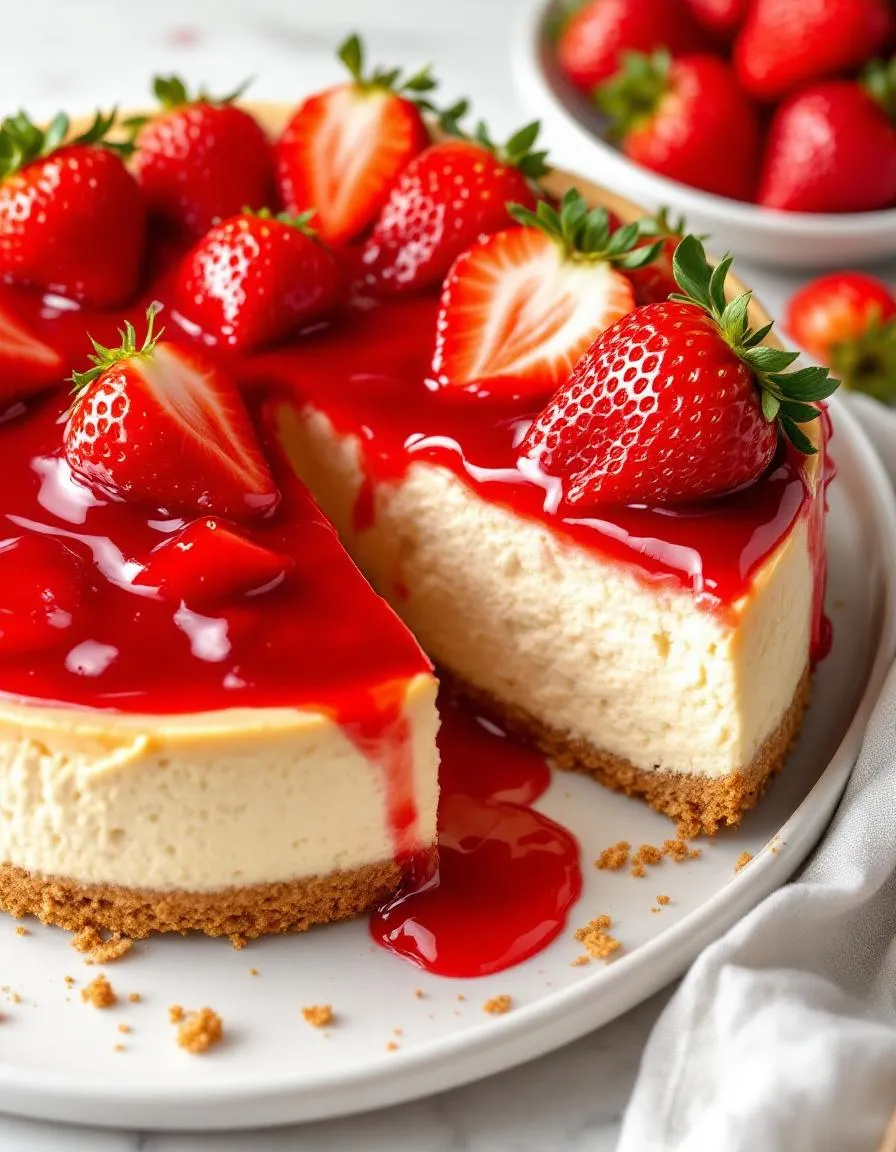
Description
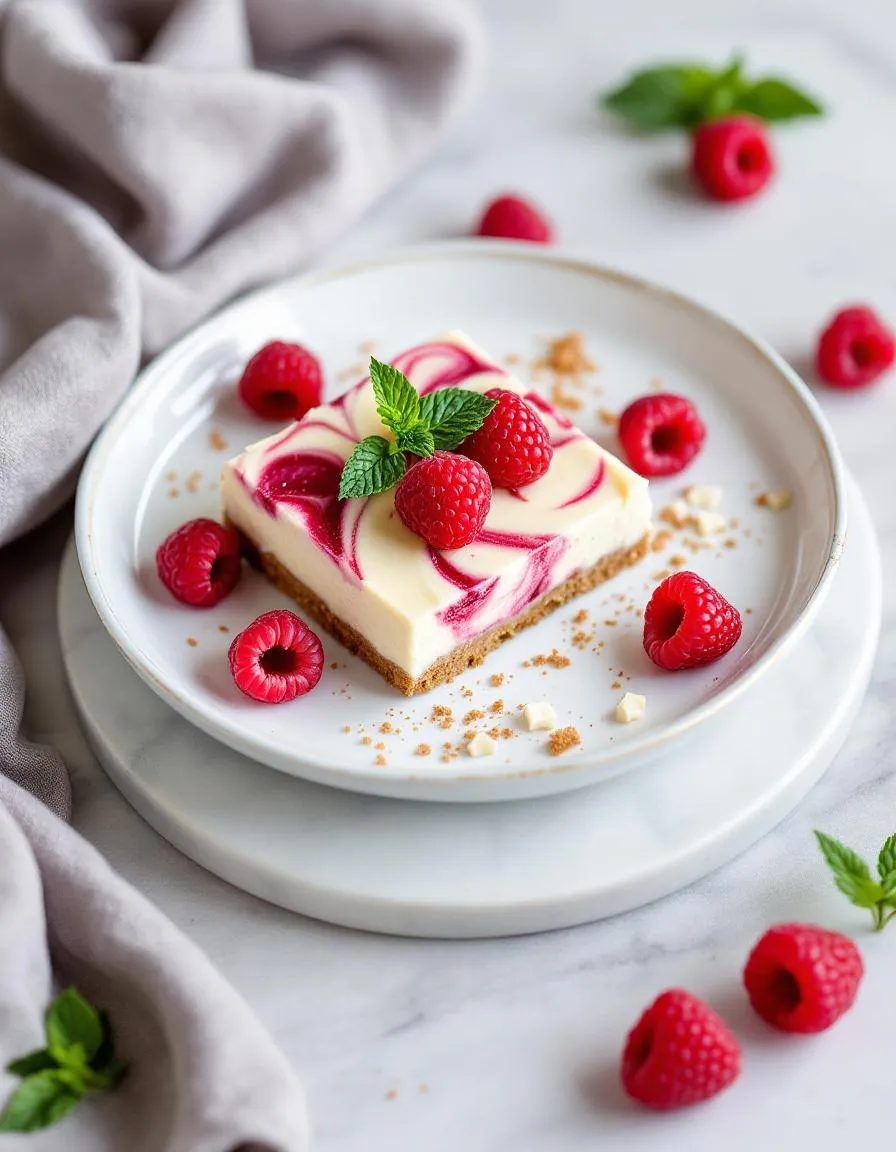
A creamy and tangy lemon cheesecake that requires no baking, perfect for a refreshing dessert.
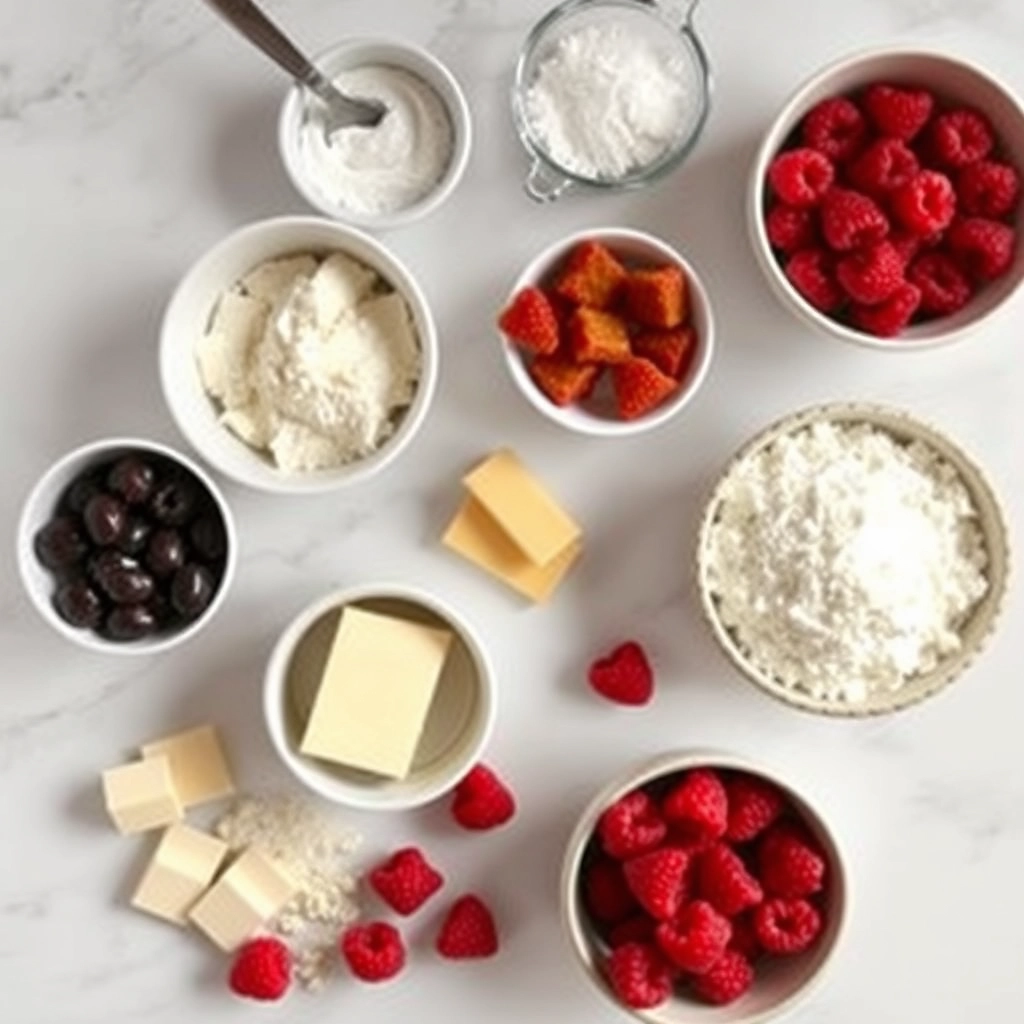
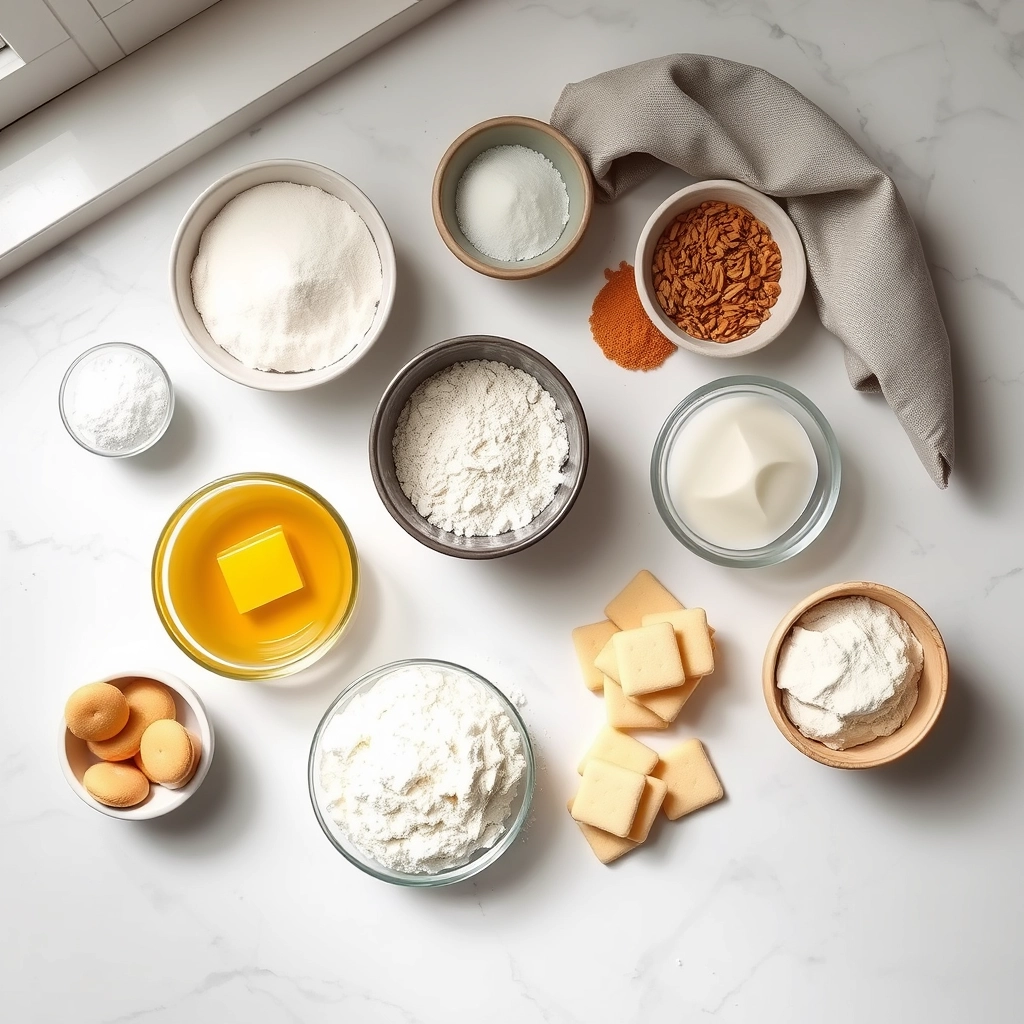
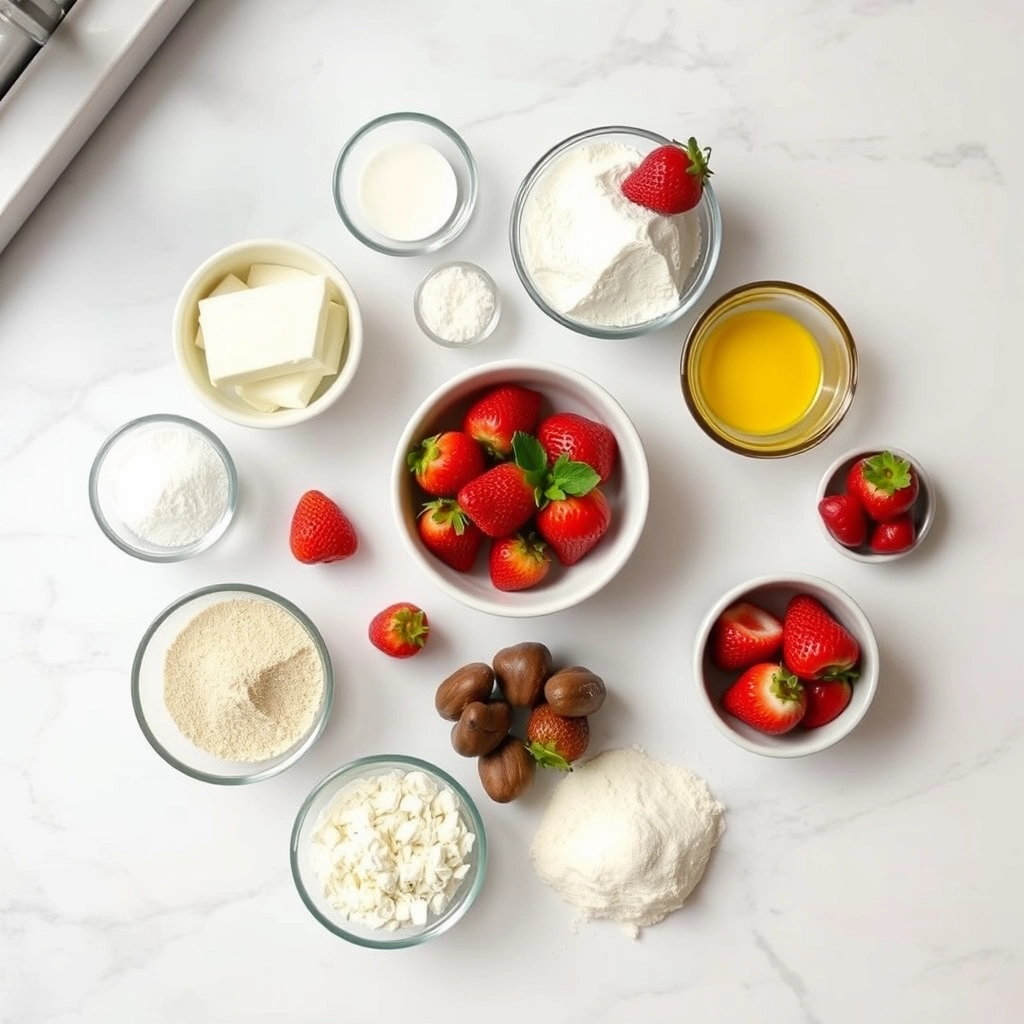
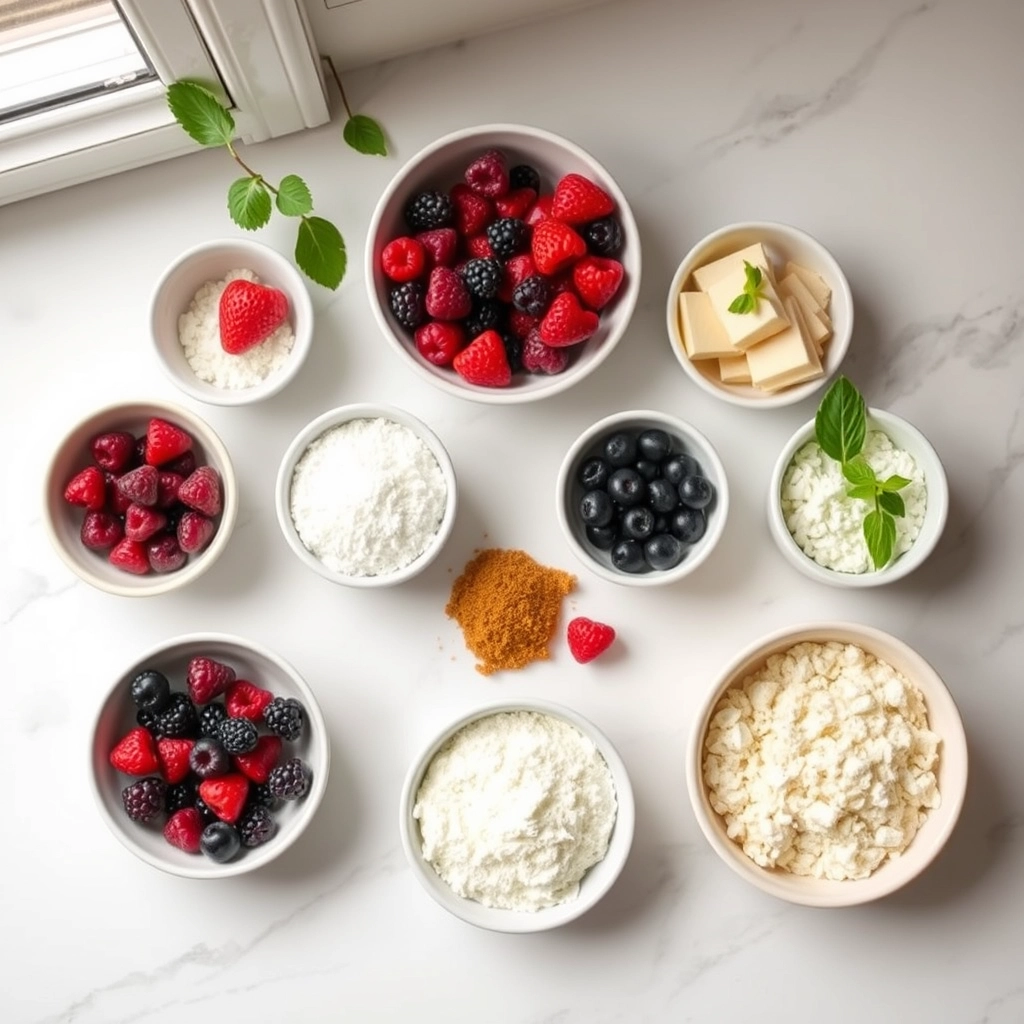
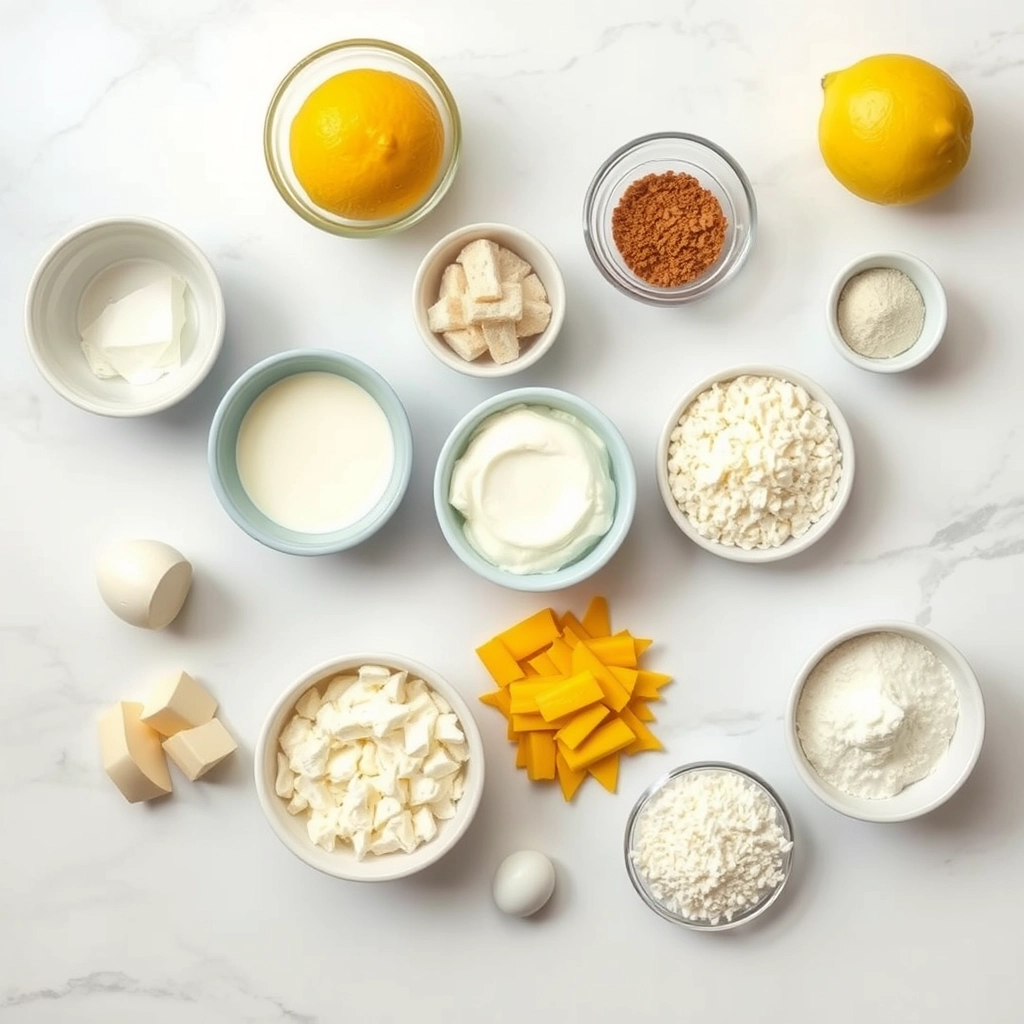
Ingredients
Scale
For the Crust:
- 1 1/2 cups graham cracker crumbs
- 1/4 cup melted butter
- 2 (8 oz) packages cream cheese, softened
- 1/2 cup granulated sugar
- 1/4 cup fresh lemon juice
- 1 tbsp lemon zest
- 1 tsp vanilla extract
- 1 cup heavy whipping cream
- 1/4 cup powdered sugar
Instructions
1. Prepare the Crust:
- In a bowl, mix graham cracker crumbs and melted butter until combined. Press firmly into the bottom of a 9-inch springform pan.
- In a large bowl, beat cream cheese and granulated sugar until smooth. Add lemon juice, lemon zest, and vanilla extract, mixing well.
- In a separate bowl, whip the heavy cream and powdered sugar until stiff peaks form.
- Gently fold the whipped cream into the cream cheese mixture until fully incorporated.
- Pour the filling over the crust and smooth the top. Refrigerate for at least 4 hours or overnight before serving.
Notes
You can customize the seasonings to taste.
How to Prepare This Dish
Steps and time-saving tips
Start by crushing graham crackers into fine crumbs for the crust. Then, mix them with melted butter and a pinch of sugar until the texture resembles wet sand. Press this mixture firmly into the bottom of a springform pan, using the back of a spoon to create an even layer. Next, chill the crust in the fridge for 10 minutes while you prepare the filling. For the No Bake Lemon Cheesecake filling, beat cream cheese until smooth, then gradually add powdered sugar and vanilla extract. Once combined, fold in whipped cream gently to keep the mixture light and airy. Finally, whisk in fresh lemon juice and zest for that bright, tangy flavor. Spread the filling over the chilled crust, smoothing the top with a spatula. Cover the pan with plastic wrap and refrigerate for at least 4 hours, though overnight is ideal for the best texture. To save time, use a food processor for the crust and pre-whipped cream from the store. Just remember, fresh lemon juice makes all the difference, so skip the bottled stuff.
Mistakes I’ve made and learned from
Early on, I rushed the chilling time for my No Bake Lemon Cheesecake, and it turned out way too soft. Now, I always plan ahead and let it set overnight—patience pays off! Another mistake? Overmixing the filling, which made it dense instead of fluffy. I learned to fold in the whipped cream gently, just until combined. If you’re new to no-bake desserts, check out my guide on common cheesecake mistakes to avoid similar pitfalls. Also, if your crust sticks to the pan, try lining it with parchment paper first—this trick saved me after one too many crumbly disasters. For more tips on perfecting the texture, my post on achieving the perfect cheesecake consistency breaks it down step by step.
Cultural Connection and Variations
Where this recipe comes from
No Bake Lemon Cheesecake carries a bright, refreshing legacy that stretches across continents. While cheesecake itself traces back to ancient Greece, the no-bake version with lemon likely emerged in mid-20th century America, when home cooks embraced convenience without sacrificing flavor. The tangy citrus twist, however, feels distinctly Mediterranean, where lemons grow abundantly and often star in desserts.
In Italy, you might find a similar dessert with ricotta instead of cream cheese, while in France, a lighter mousse version takes center stage. Meanwhile, Australian bakers often add a layer of passionfruit pulp for extra zing. My family’s take on No Bake Lemon Cheesecake includes a hint of vanilla in the crust, a trick my grandmother learned from a neighbor who swore it balanced the lemon’s sharpness perfectly.
Seasonally, this dessert shines in spring and summer, when lemons peak and no one wants to turn on the oven. Yet, its versatility keeps it relevant year-round. Whether served at a picnic or as a festive holiday treat, No Bake Lemon Cheesecake adapts effortlessly to any occasion.
How it fits in today’s cooking
Today, No Bake Lemon Cheesecake remains a staple for busy home cooks and dessert lovers alike. Its simplicity fits modern lifestyles, requiring just a fridge and a few pantry staples. Many bakers now swap in gluten-free graham crackers or coconut yogurt for dietary preferences, proving how adaptable this classic really is.
You’ll often spot it at summer potlucks or as a light finale to weeknight dinners. Some even serve mini versions in jars for portable sweetness. For those craving more citrusy inspiration, our citrus dessert collection offers endless twists on this theme.
Ultimately, No Bake Lemon Cheesecake bridges tradition and convenience. It honors the past while keeping up with today’s fast-paced, health-conscious kitchens—one creamy, lemony bite at a time.
Taste and Texture
What makes it delicious
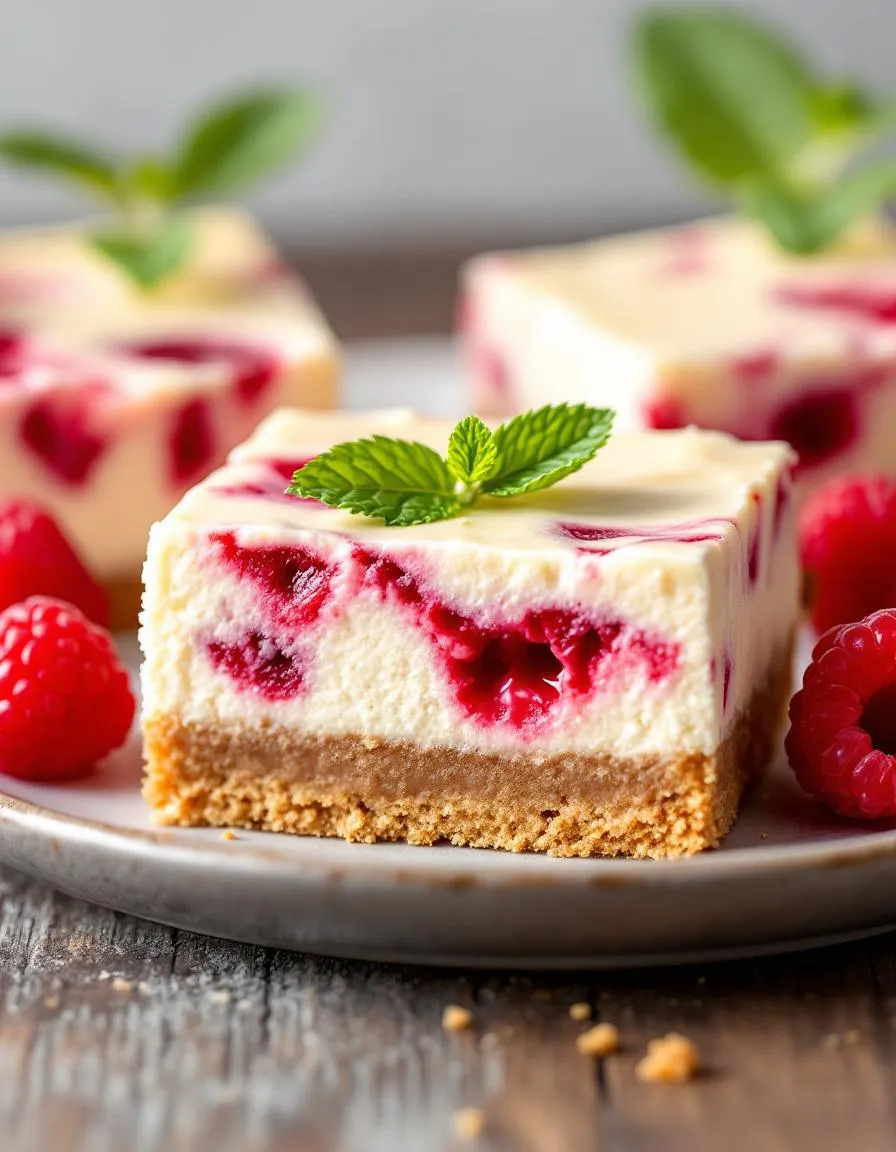
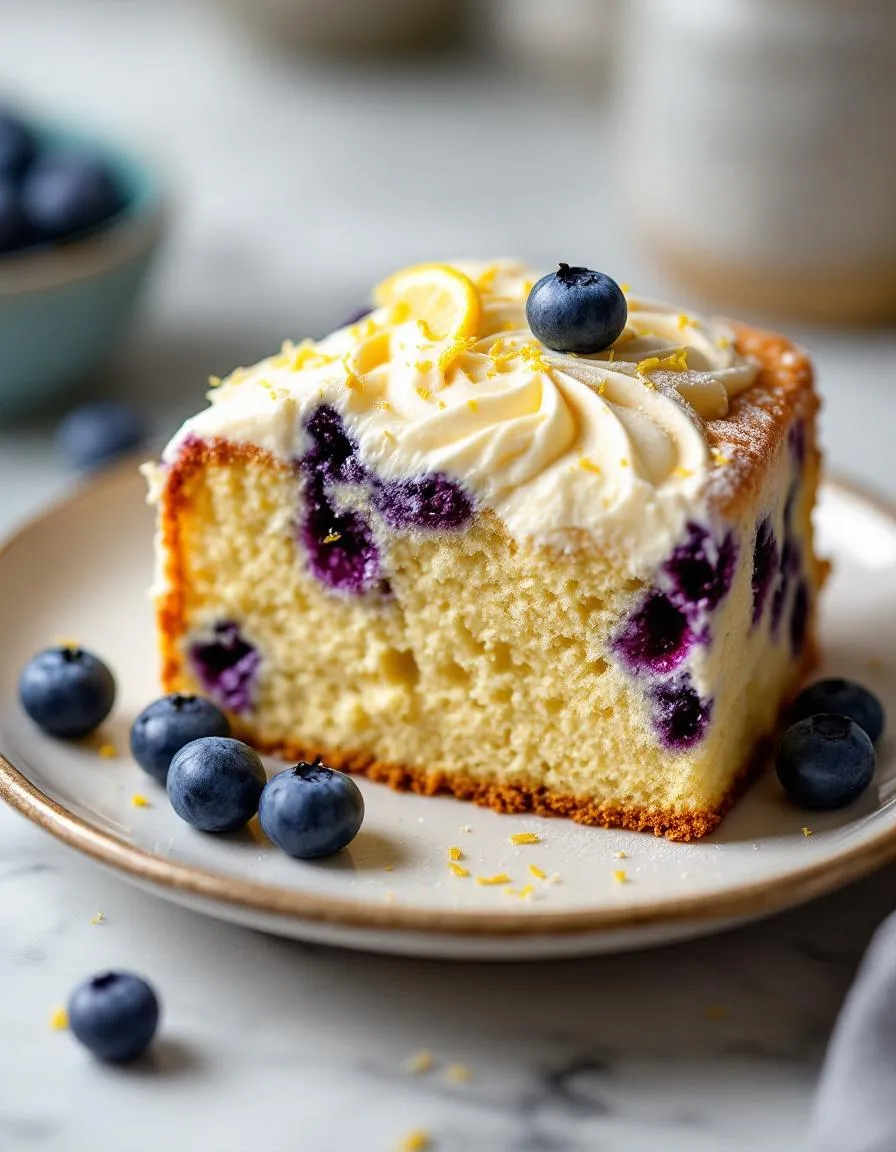
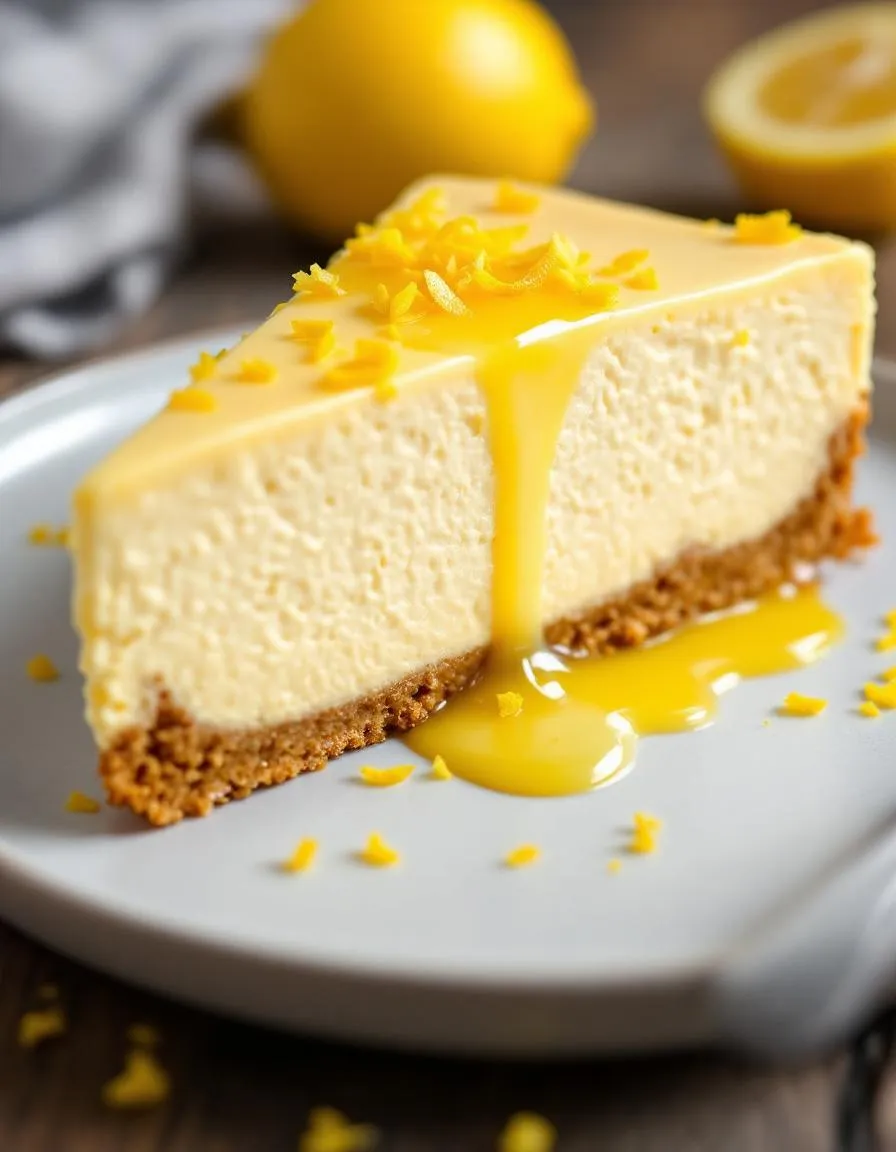
No Bake Lemon Cheesecake delivers a bright, refreshing burst of citrus balanced by rich, velvety creaminess. The tangy lemon zest cuts through the sweet, buttery graham cracker crust, creating a perfect harmony of flavors. Each bite melts in your mouth, thanks to the smooth, airy texture of whipped cream cheese and condensed milk. Meanwhile, the crust adds a satisfying crunch that contrasts beautifully with the luscious filling. Fragrant lemon juice and vanilla extract elevate the aroma, making every slice irresistible. Whether you serve it chilled or slightly softened, No Bake Lemon Cheesecake promises a dessert that’s both light and indulgent.
Boosting the flavor
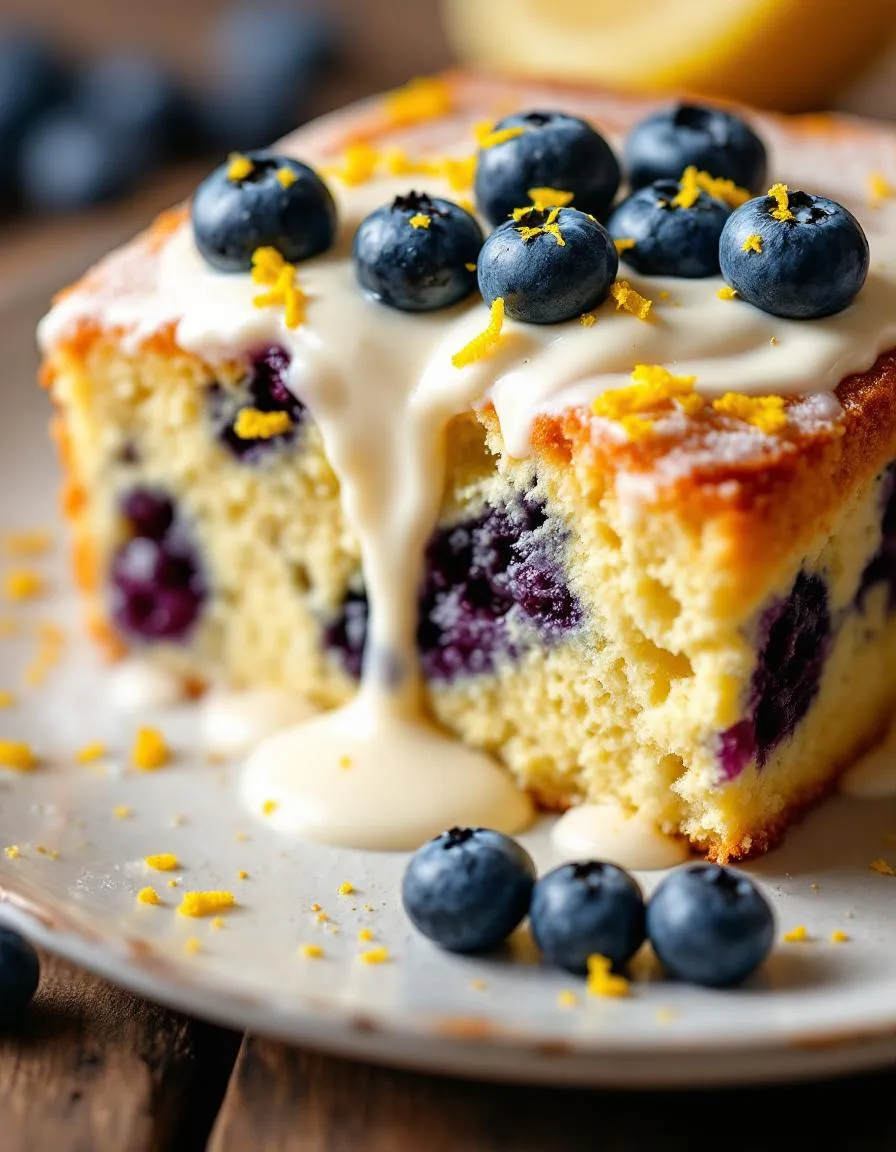
For an extra zing, fold in a teaspoon of lemon extract or swap regular cream cheese for homemade mascarpone to add a subtle tang. Top slices with fresh blueberries or a drizzle of raspberry coulis to complement the citrus notes. If you love texture, sprinkle toasted coconut or crushed pistachios over the whipped cream. A pinch of cardamom or ginger in the crust can also deepen the flavor profile without overpowering the lemon. Experiment with these tweaks to make your No Bake Lemon Cheesecake even more memorable.
Tips for Success
Best practices for results
Always use full-fat cream cheese for the richest texture in your No Bake Lemon Cheesecake, as low-fat versions can make the filling too soft. Meanwhile, zest your lemons before juicing them to capture the brightest citrus flavor. For a smooth filling, beat the cream cheese first until creamy, then gradually add other ingredients. Additionally, chill the crust for at least 15 minutes before adding the filling to prevent sogginess. Finally, let the cheesecake set in the fridge for at least 4 hours, though overnight yields the best results.
Mistakes to avoid
Avoid overmixing the filling, as this can incorporate too much air and cause cracks. Instead, mix just until smooth for the perfect No Bake Lemon Cheesecake texture. Also, never skip lining your pan with parchment paper—this ensures easy removal and clean slices. If your crust crumbles when cutting, try pressing it more firmly into the pan or checking out our no-bake crust guide for extra help. For those struggling with a runny filling, make sure your heavy cream is properly whipped to stiff peaks, and refer to our whipping cream tutorial for foolproof tips.
Serving and Pairing Suggestions
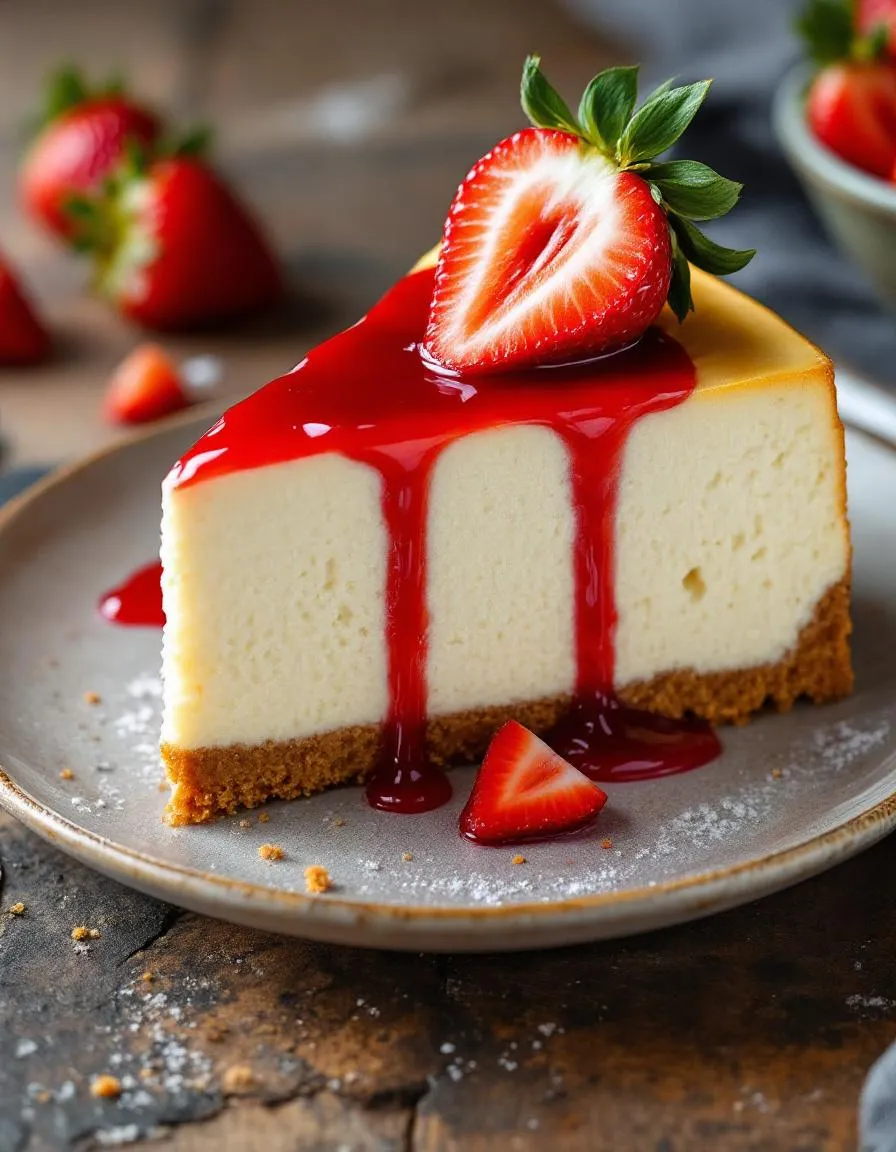
How to serve this dish
For a stunning presentation, slice your No Bake Lemon Cheesecake into clean wedges using a warm knife. Meanwhile, garnish each plate with fresh berries, mint leaves, or a light dusting of powdered sugar to enhance its visual appeal. Alternatively, serve individual portions in elegant dessert glasses for a more refined touch. Since this dessert requires no baking, it’s perfect for warm-weather gatherings like picnics or summer barbecues. You can also make it the star of your holiday dessert table by adding edible flowers or lemon zest curls for a festive twist.
What goes well with it
Pair your No Bake Lemon Cheesecake with a crisp glass of Moscato or a lightly sweetened iced tea to balance its tangy flavor. If you prefer something richer, try drizzling it with homemade berry coulis for a burst of fruity contrast. For a delightful textural pairing, serve it alongside a scoop of vanilla bean ice cream or a slice of our almond cake. The nutty undertones of the cake complement the citrusy cheesecake beautifully, creating a well-rounded dessert experience.
A no bake lemon cheesecake typically needs at least 4-6 hours in the refrigerator to set properly. For best results, let it chill overnight so the flavors fully develop and the texture becomes firm. This ensures your no bake lemon cheesecake holds its shape when sliced.
Fresh lemon juice is ideal for no bake lemon cheesecake because it provides brighter flavor, but bottled lemon juice works in a pinch. If using bottled, add a teaspoon of fresh zest to enhance the citrus taste. Avoid lemon extract, as it can overpower the delicate balance of your no bake lemon cheesecake.
A runny no bake lemon cheesecake often results from insufficient chilling time or overmixing the filling. Make sure your cream cheese is fully softened before blending, and avoid adding too much liquid. If the mixture seems thin, refrigerate it for 30 minutes before assembling to help it thicken.
Yes, you can freeze no bake lemon cheesecake for up to 1 month. Wrap it tightly in plastic wrap and aluminum foil to prevent freezer burn. Thaw it overnight in the refrigerator before serving to maintain the creamy texture of your no bake lemon cheesecake.