“`html
Table of Contents
- Craving Nostalgia? Dive into Banana Pudding Rice Krispies!
- Gather Your Ingredients
- Timing is Everything
- Let’s Get Creative: Step-by-Step
- Nutritional Snapshot
- Healthier Swaps for a Lighter Treat
- Serving Suggestions
- Common Pitfalls to Avoid
- Storing Your Masterpiece
- Enjoy Your Delicious Creation!
- Frequently Asked Questions
Banana Pudding Rice Krispies Recipe
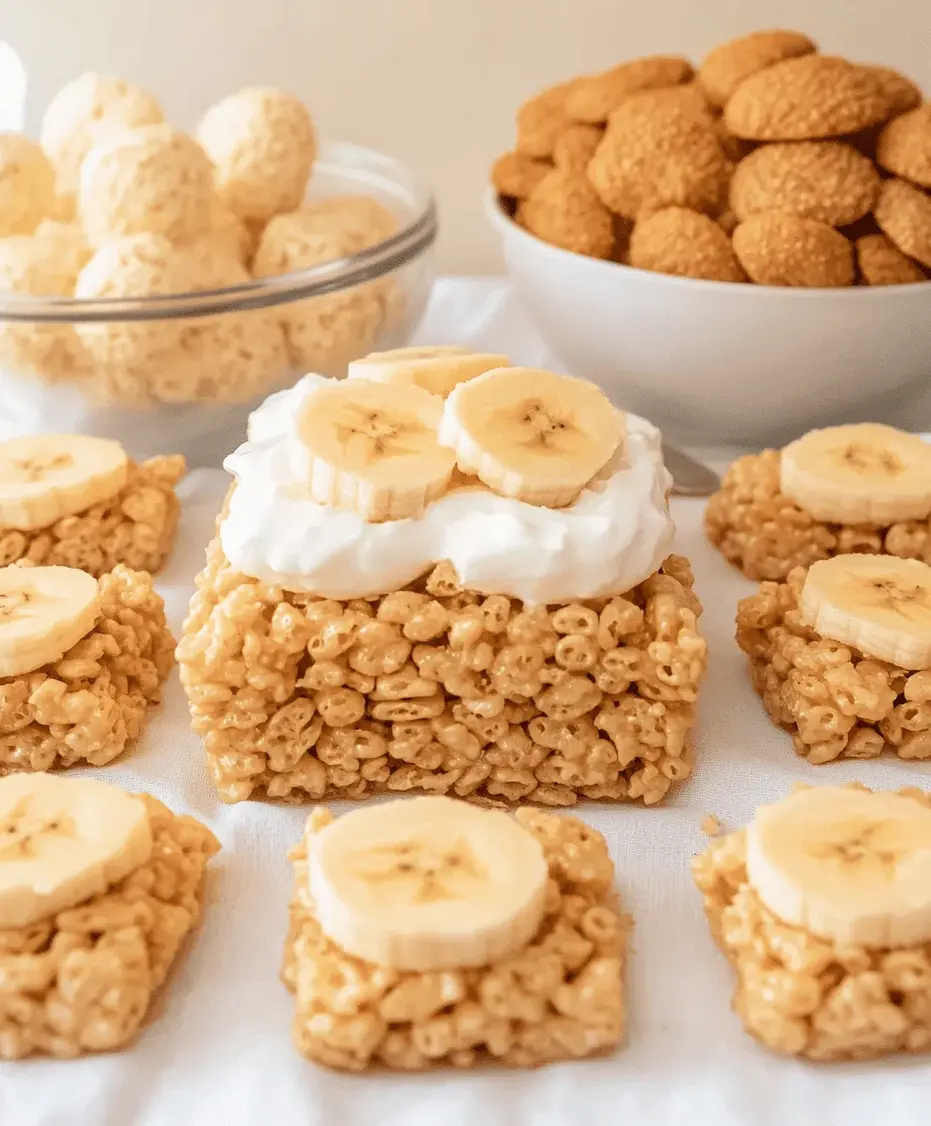
Craving Nostalgia? Dive into Banana Pudding Rice Krispies!
Did you know that the average American consumes over 20 pounds of dessert per year, with beloved classics like banana pudding consistently ranking among the favorites? Imagine the creamy, dreamy taste of banana pudding infused into the satisfyingly crispy, chewy texture of Rice Krispies treats! This Banana Pudding Rice Krispies recipe is a no-bake marvel that brings together the best of both worlds, transforming a simple snack into an unforgettable dessert experience. Forget complicated baking; this recipe is designed for speed, ease, and maximum flavor impact. Get ready to have your taste buds sing!
Gather Your Ingredients
The magic of these Banana Pudding Rice Krispies lies in its simple yet effective ingredient list. Each component plays a crucial role in creating that perfectly balanced flavor and texture.
The Crispy Foundation
6 cups Rice Krispies cereal: This is the star of the crispy texture. Ensure they are fresh for the best crunch!
The Chewy Binder
10 oz (about 40) mini marshmallows: Mini marshmallows melt more evenly and quickly, creating a smooth, cohesive binder for your treats. You can also use 4 cups of mini marshmallows.
The Richness Factor
4 tablespoons (1/2 stick) unsalted butter: Butter not only adds richness but also helps the marshmallows melt smoothly, preventing them from burning. Unsalted butter gives you more control over the final saltiness of the recipe.
The Star of the Show
1/4 cup instant banana pudding mix: This is where the banana pudding flavor truly shines! Make sure to use the instant variety, as it doesn’t require cooking and incorporates seamlessly.
The Classic Crunch
1 cup crushed vanilla wafers: These provide that unmistakable banana pudding cookie essence and a delightful textural contrast. Crush them finely but not into powder.
The Flavor Boost (Optional)
1/2 teaspoon banana extract: For an intensified banana flavor, a touch of extract can elevate these treats. Use sparingly, as it can be potent!
Substitutions and Variations
- Marshmallows: If you can’t find mini, use about 2.5 cups of large marshmallows, cut into smaller pieces.
- Butter: Salted butter can be used, but reduce any added salt in the recipe if you choose to use it. You could also try a dairy-free butter alternative.
- Pudding Mix: If instant banana pudding mix isn’t available, you can experiment with other instant pudding flavors like vanilla or cheesecake, though the banana flavor will be less pronounced.
- Vanilla Wafers: Graham crackers or shortbread cookies can be substituted, but vanilla wafers are key for that authentic banana pudding taste.
- Add-ins: Consider adding a few drops of yellow food coloring for a more vibrant dessert, or even some finely chopped fresh banana for an extra burst of banana flavor (though this may affect shelf life).
Timing is Everything
10 minutes
5 minutes
15 minutes (plus chilling time)
12-16 servings
Compared to traditional baking recipes that can take hours, these Banana Pudding Rice Krispies are incredibly quick. The active preparation time is minimal, making them perfect for last-minute cravings or busy weeknights. The total time, including chilling, ensures you have a delightful dessert ready in under an hour.
Let’s Get Creative: Step-by-Step
Follow these simple steps to create a batch of irresistible Banana Pudding Rice Krispies treats!
Step 1: Prep Your Pan
Line a 9×13 inch baking pan with parchment paper, leaving some overhang on the sides. This makes it easy to lift the treats out later. Lightly grease the parchment paper with non-stick cooking spray or butter to prevent sticking.
Step 2: Melt the Goodness
In a large saucepan, melt the butter over low heat. Once melted, add the mini marshmallows. Stir constantly until the marshmallows are completely melted and the mixture is smooth. Be patient and keep the heat low to avoid scorching.
Step 3: Mix in the Magic
Remove the saucepan from the heat. Immediately stir in the instant banana pudding mix and the optional banana extract. Mix until well combined and there are no dry pockets of pudding mix. The mixture should start to take on a lovely pale yellow hue and a sweet banana aroma.
Step 4: Fold in the Crispies
Add the Rice Krispies cereal and the crushed vanilla wafers to the marshmallow mixture. Gently fold everything together with a rubber spatula until the cereal and wafers are evenly coated. Work quickly, as the marshmallow mixture will start to set.
Step 5: Press and Chill
Transfer the mixture to your prepared baking pan. Using a greased spatula or your hands (lightly greased), gently press the mixture evenly into the pan. Don’t press too firmly, as this can make the treats tough. For cleaner edges, you can use the parchment paper overhang to help shape. Place the pan in the refrigerator for at least 30 minutes to allow the treats to firm up.
Step 6: Slice and Serve
Once firm, lift the treats out of the pan using the parchment paper. Place on a cutting board and slice into squares or bars. Serve immediately and enjoy the delightful fusion of flavors!
Nutritional Snapshot
While exact nutritional values can vary based on specific brands and ingredient amounts, here’s an estimated breakdown per serving (assuming 16 servings):
- Calories: Approximately 180-220 kcal
- Carbohydrates: Around 25-30g
- Sugar: Around 15-20g
- Fat: Approximately 8-10g
- Protein: Around 1-2g
*Note: This is an approximation. For precise nutritional information, it’s recommended to use a nutrition calculator with your specific ingredients.
Healthier Swaps for a Lighter Treat
Looking to make these treats a bit lighter without sacrificing flavor? Try these smart substitutions:
- Reduced-Fat Marshmallows: While they may be slightly less gooey, they can help reduce sugar and fat.
- Brown Rice Crispy Cereal: Opt for a whole grain version for added fiber.
- Coconut Oil or Grapeseed Oil: These can be used in place of butter, offering a slightly different flavor profile and potentially healthier fats.
- Homemade Banana Pudding Flavor: If you want to avoid artificial flavorings and processed pudding mix, you can try mashing ripe bananas and reducing them to a concentrate, or using natural banana flavoring. This will alter the texture and sweetness slightly.
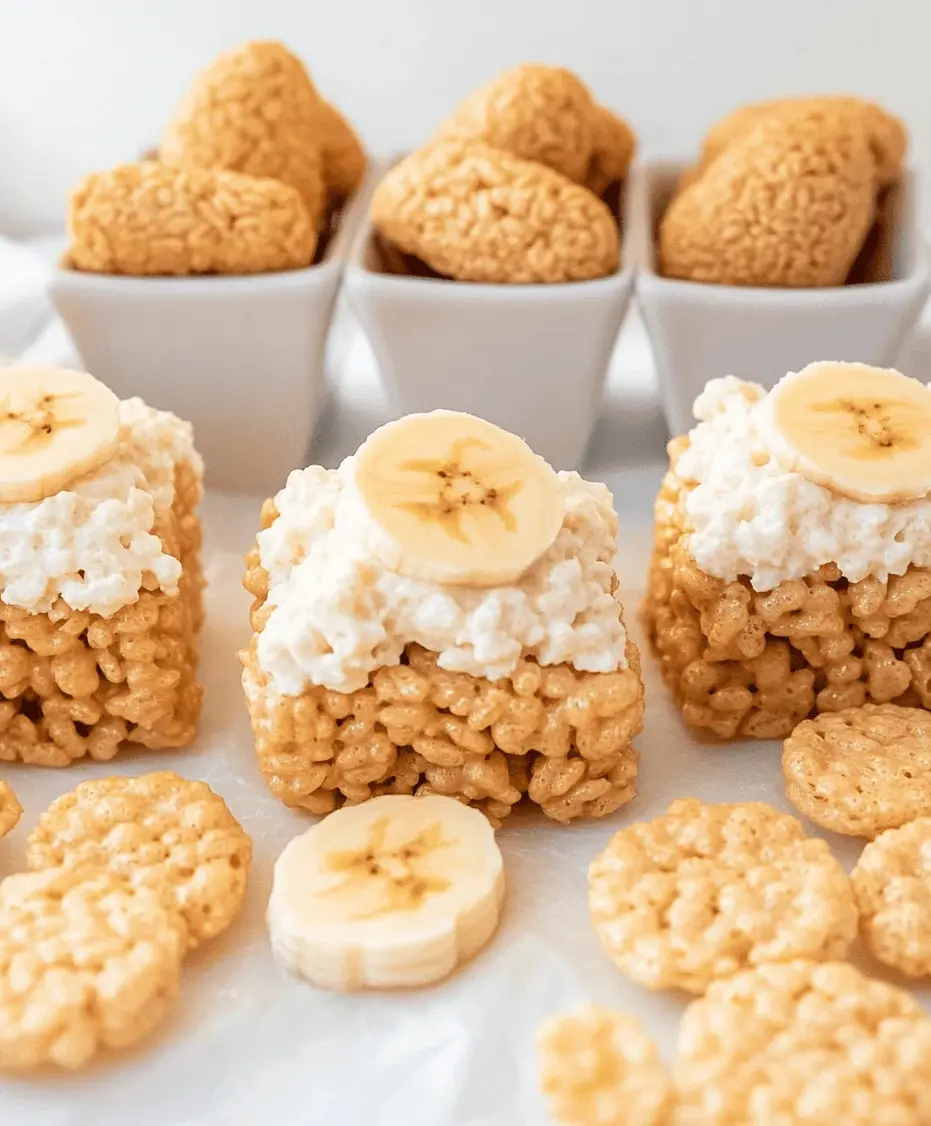
Serving Suggestions
These Banana Pudding Rice Krispies are delightful on their own, but can also be elevated with these serving ideas:
- Garnish: Top with a light dusting of powdered sugar, a drizzle of chocolate, or even a few slices of fresh banana just before serving.
- With Ice Cream: Serve a square on the side of a scoop of vanilla or banana ice cream for an extra decadent treat.
- As a Party Favor: Cut into small squares and wrap individually for a fun and delicious party treat.
Common Pitfalls to Avoid
To ensure your Banana Pudding Rice Krispies turn out perfectly every time, steer clear of these common mistakes:
- Overheating Marshmallows: This can lead to tough, chewy treats. Always use low heat and stir constantly.
- Pressing Too Hard: Gentleness is key! Over-packing the mixture into the pan will result in dense, hard treats.
- Not Stirring Quickly: Once the cereal and wafers are added, you need to mix and press them into the pan promptly before the marshmallow mixture hardens.
- Using Stale Cereal: Stale Rice Krispies will make your treats lose their signature crispiness.
Storing Your Masterpiece
These treats are best enjoyed fresh, but they can be stored for a few days. Keep them in an airtight container at room temperature. Avoid refrigerating them for too long, as this can make them hard and stale. If you need to stack them, place parchment paper between layers to prevent sticking.
Still dreaming of that perfect bite? Let us know in the comments below if you’ve tried this recipe or have your own twist on this delightful treat!
Frequently Asked Questions
***Can I make these vegan?***
Yes, you can! Use vegan marshmallows and a vegan butter substitute. Ensure your vanilla wafers are also vegan-friendly.
***How long do these last?***
Stored properly in an airtight container at room temperature, they are best within 2-3 days. They may remain edible for up to a week, but might lose some of their texture.
***Why are my treats so hard?***
This is usually due to overheating the marshmallows or pressing the mixture too firmly into the pan. Using low heat and a gentle touch when pressing are key.
***Can I add fresh bananas?***
You can, but it’s best to add them just before serving or if you plan to consume the treats the same day. Fresh bananas can make the treats soggy over time.
Enjoy Your Delicious Creation!
These Banana Pudding Rice Krispies treats are a testament to how simple ingredients can create something truly magical. They are perfect for potlucks, bake sales, or just a cozy afternoon snack. The delightful combination of creamy banana pudding flavor and crispy, chewy Rice Krispies texture is sure to be a crowd-pleaser. Give this recipe a try and rediscover the joy of no-bake desserts!
Banana Pudding Rice Krispies Recipe
Description
This Banana Pudding Rice Krispies recipe combines the classic flavors of banana pudding with the crispy, chewy texture of Rice Krispies treats. Made with marshmallows, banana pudding mix, and vanilla wafers, this no-bake dessert is quick, easy, and perfect for any occasion!
Ingredients
- 6 cupsRice Krispies cereal
- 1(10 oz) bag mini marshmallows
- 3 tbspunsalted butter
- 1(3.4 oz) box instant banana pudding mix
- ½ cupcrushed vanilla wafers
- ½ tspvanilla extract
- ¼ cupmilk
Instructions
Notes
For extra banana flavor, add banana extract or sliced bananas on top.
Store in an airtight container at room temperature for up to 3 days.
Nutrition
- Calories: 150
- Sugar: 12g
“`
